

Is This Your First Time?

A quick introduction to papercraft mask-making
Let me guess. You were looking for a mask to wear at a party or for a school project and you came across my website, but you have never attempted making a papercraft mask before.
Fret not - here are some words of advice and suggestions that will make your first experience enjoyable and help build your papercrafting skills!
Size matters
In terms of difficulty, there isn’t really a lot of difference between the designs, unless explicitly mentioned in the description. The process is the same for all of them.
But the bigger the mask, the more time and effort it will take to cut, score and assemble all the pieces. I suggest you start with something small, so you see how it works and get the hang of it before you invest a lot of time and materials on a mask that may test your patience and dexterity. With every mask you make, you will quickly identify what works best for you and the result you want to achieve.
The masks on this website are grouped by the number of pieces used to make them. Each piece fits on an A4/US Letter sheet of paper, and sometimes two small pieces may be on the same sheet.
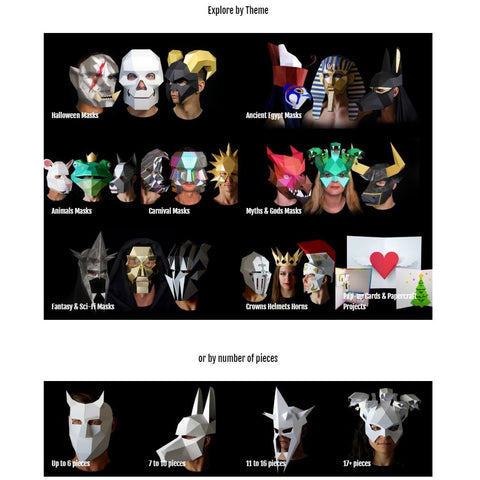
So, if you want to start with something small, choose one from the ‘up to six pieces’ range for your first attempt. The Phantom mask, for example, is super easy and a very effective mask when you decorate it or make it with some nice card. The Sugar Skull is also quick to make.
Not all shapes are created equal
I make every effort to avoid difficult-to-assemble shapes. The way the designs are separated into pieces, as well as the shape of the connecting tabs and their orientation, are carefully chosen to make assembling the mask easier.
As a general rule though, shapes like horns and the tips of pyramids may be a little tricky as you may not be able to fit your fingers inside the shape to glue down the connecting tabs. You may need a thin long tool for that. So until you get a good sense of how the glue works and what tools may be useful, be mindful of them.
Preparation is the key to success
Make sure you have gathered the right tools and - most importantly - set aside ample time for your project. Making a big mask can become time consuming, especially if you are not familiar with the process. Don’t rush and read the instructions carefully. Always, always test fit the pieces before you apply glue so that you know what goes where.
Glue is your friend
The glue you choose to use will most likely have the biggest impact on how smooth the process will be. I recommend using an ‘extra strength’ glue stick, but whatever you choose, get some practice on a piece of the card you’re using to understand how long it takes for the glue to set and how strong the bond is. This will determine how fast you will be able to work and how many tabs you can apply glue to at any one time. Usually not more than two, if you have to hold them down, until the glue sets.
You got this
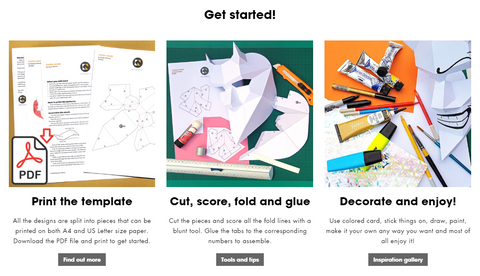 Although the instructions describe the simplest way of using the templates to make the masks, there are a few different ways to go about it. These depend on your skills, the tools you have and how neat you want the end result to be. Have a look at the ‘Get Started’ section of the website for tips and advice on tools. And you can always get in touch, if you have questions.
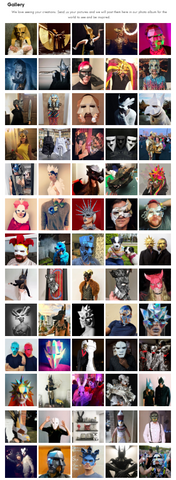
Check out the pictures in the Gallery for some inspiration. These have been sent to me by people all over the world who have made my mask designs. The results are incredible and clearly demonstrate what can be achieved with a little patience and creativity.
I look forward to one day receiving stunning pictures of your own creations!
Go wild!
Kostas